If you own an Ender 5 or Ender 5 Plus and have been eyeing the ZeroG ecosystem, you have probably faced the same question: should I convert the motion system to CoreXY first with Mercury One, or tackle the bed and electronics with a Hydra upgrade? The official ZeroG FAQ gives you the compatibility details, but it does not tell you which path leads to a reliable printer and which one leads to a garage full of parts you cannot use.
We have two Ender 5 Plus machines in our shop, both running Mercury One conversions. One has a full Hydra bed system, the other runs a cast bed upgrade without the full Hydra. After living with both setups and talking to other builders, our answer is clear: fix the bed first. Here is why, what to avoid, and when you should skip upgrading altogether.
TLDR: Do the bed/electronics upgrade first if you're ender 5 plus cast bed upgrade but ender 5 pro will need hydra, is not requirement on ender 5 plus but something we would recommended. A flat, fast-heating cast bed gives you reliable first layers, which matters more than motion speed. Mercury One can wait; a fast CoreXY gantry on a warped bed just fails faster. If you are not a committed tinkerer, the total cost of both upgrades is often better spent on a different printer.
What Are Mercury One and Hydra?
For anyone new to the ZeroG project, a quick summary:
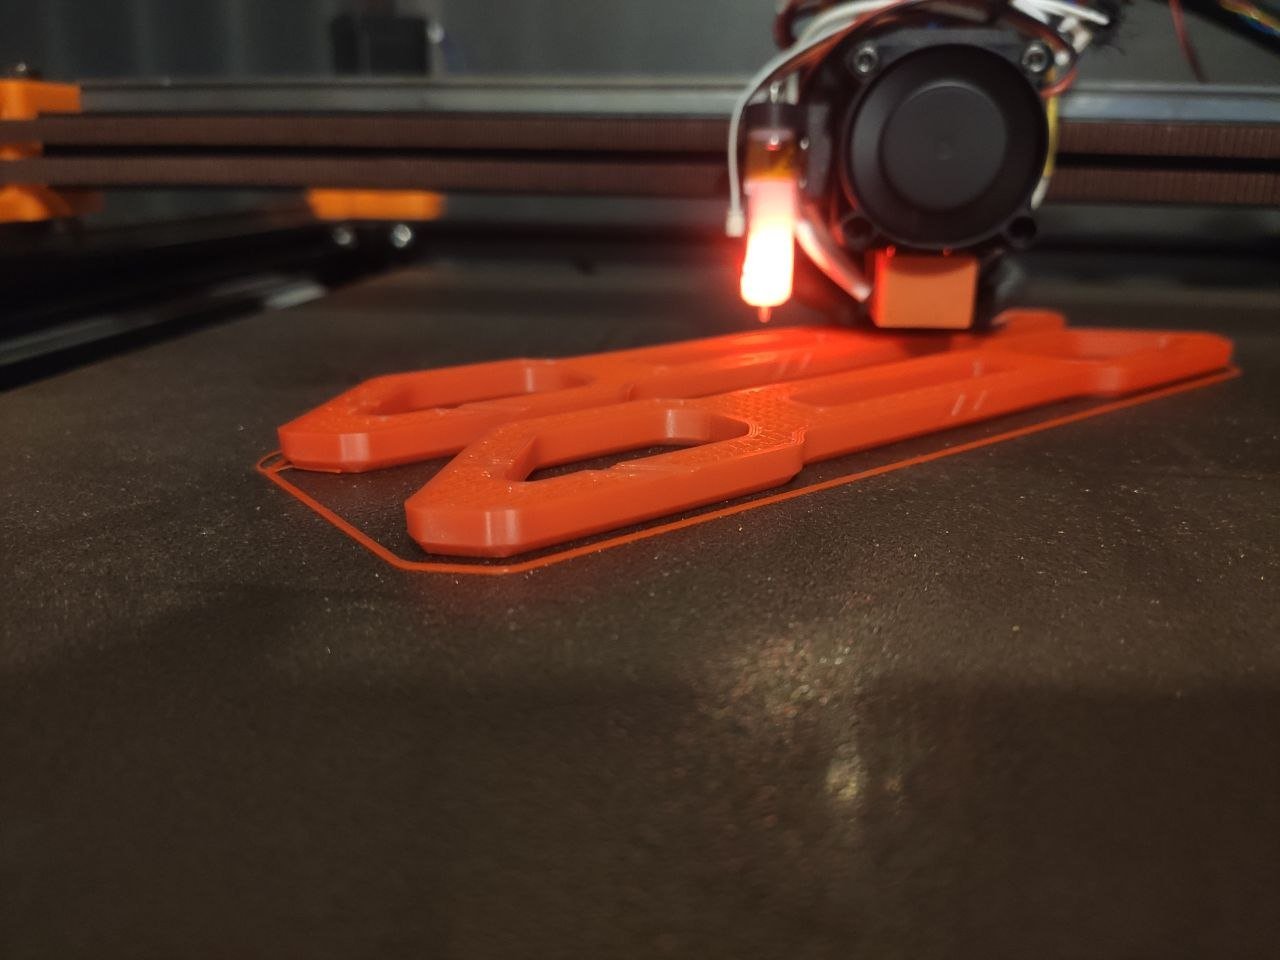
Mercury One replaces the Ender 5's Cartesian motion with a CoreXY belt path using linear rails. It gives you much higher speed, better acceleration, and a far more rigid gantry. It also requires a new extruder/hotend if you are currently running a Micro Swiss Direct Drive, and you will likely want a higher flow nozzle than the stock MK8 to make use of the speed.
Source: ZeroG
Hydra is a bed and electronics(would be required) upgrade. It swaps the stock thin aluminium heated bed for a cast aluminium tooling plate with an AC mains heater, a new solid state relay, and a reworked electronics bay. The result is a dramatically flatter bed, faster heat-up times, and a much cleaner wiring setup. The Hydra kit is modular; you can also do just the cast bed and stepper motor upgrade without the full Hydra if your electronics are already well managed for Ender 5 Plus as most cast upgrade will have stock mounting options.
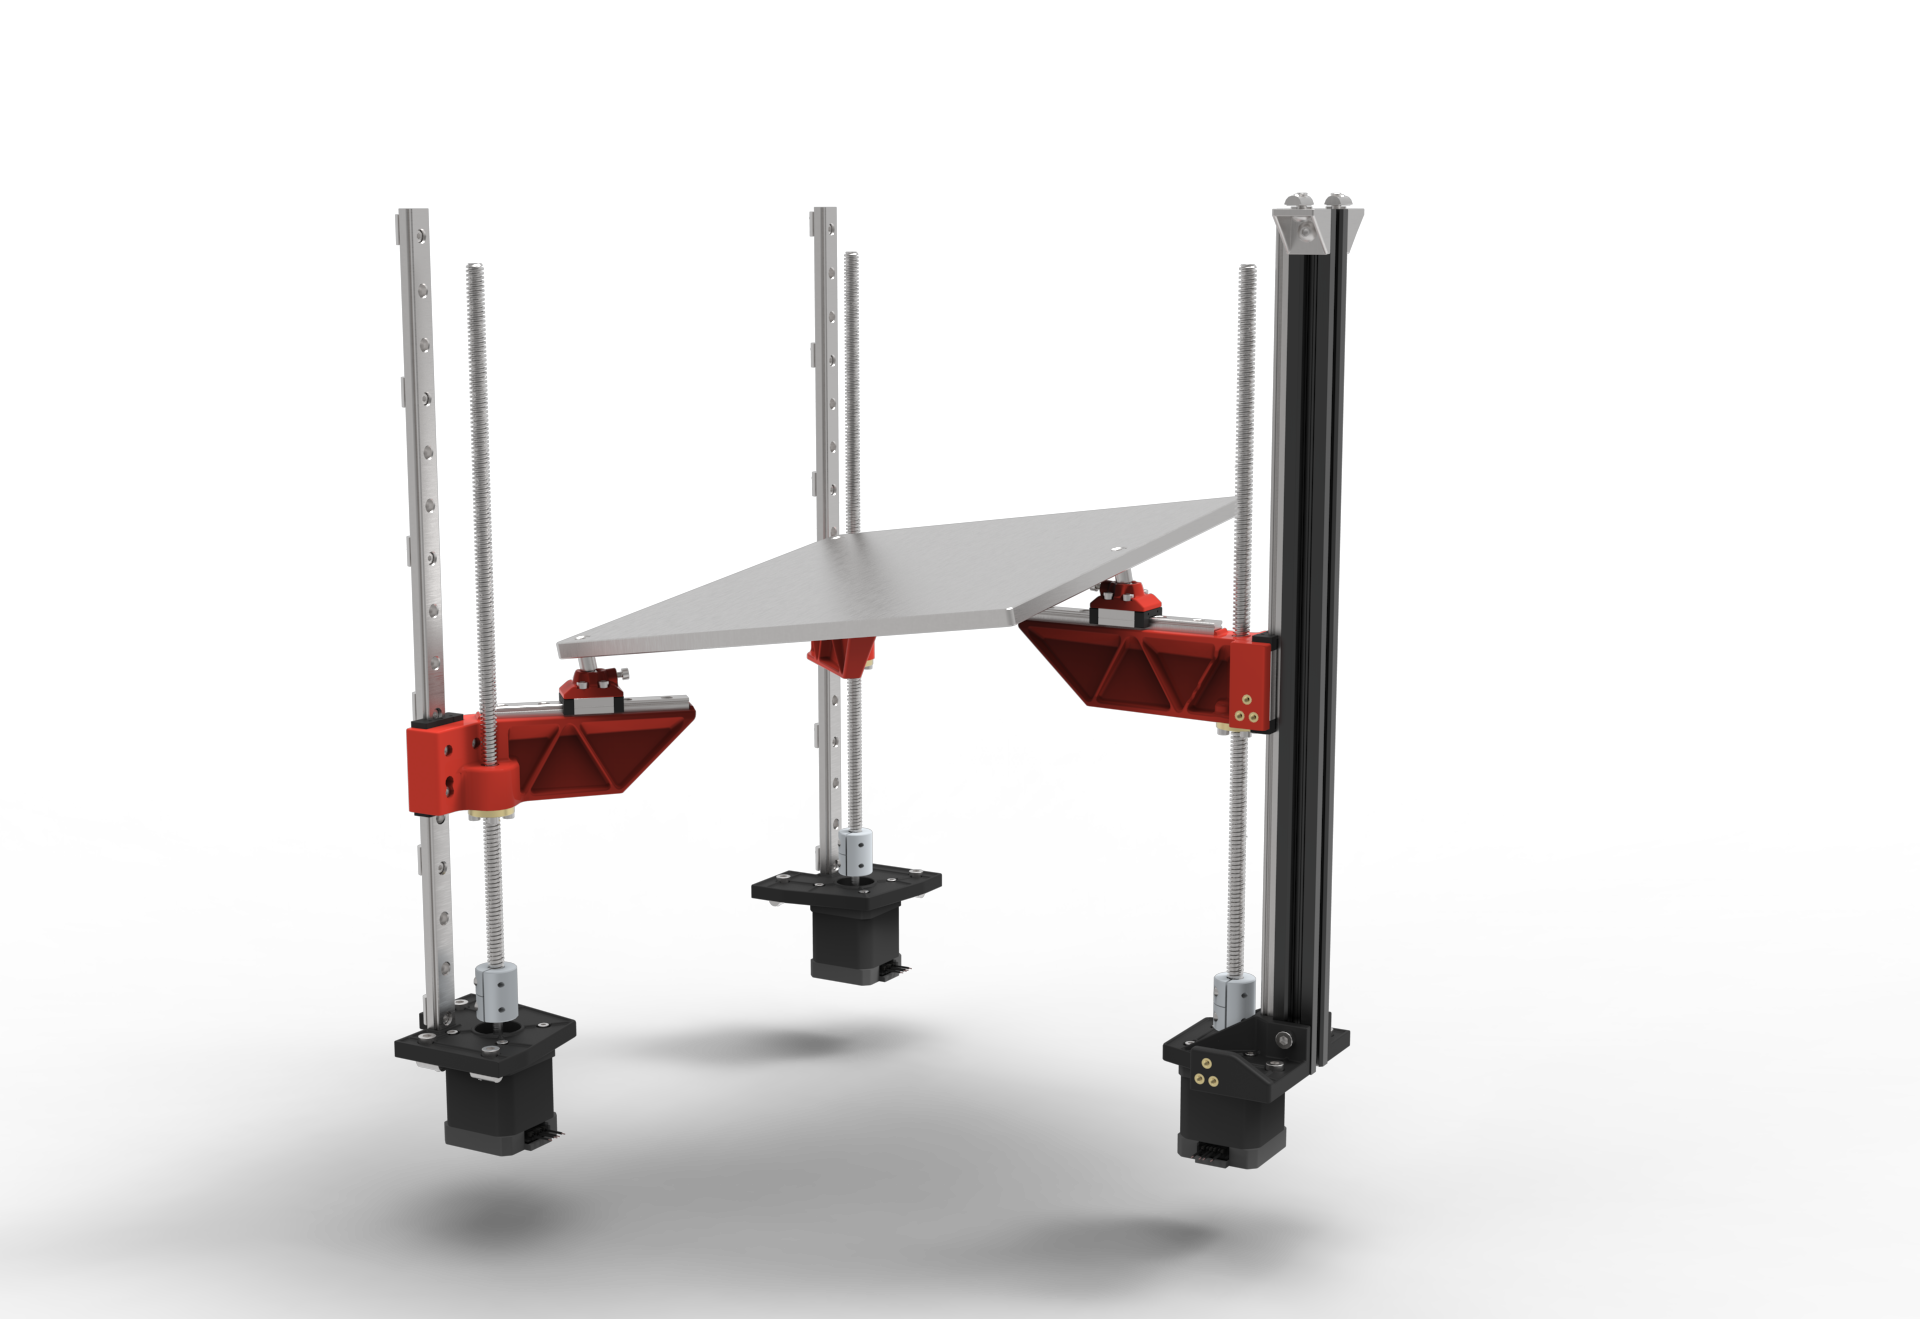
Source: ZeroG
Our Experience: The Bed Upgrade Comes First
We learned this the hard way. When we converted our first Ender 5 Plus to Mercury One, we kept the stock bed. Motion was fast, belts were tight, but we spent more time fighting first layer consistency than actually printing. The stock rolled aluminium bed on the Ender 5 and 5 Plus is almost never truly flat, and even a BL / CR Touch probe struggles to compensate for the waves and dips across such a large surface. A fast motion system is useless if you cannot get a solid first layer.
On our second machine, we started with a cast bed upgrade before touching the motion system. The difference was immediate. The bed reached temperature in a fraction of the time, the surface was flat within a tiny tolerance, and first layers went down perfectly every time. We transferred our existing flexible PEI sheet straight onto the cast plate and kept printing. That printer is now the one we trust for important jobs, even though its motion system came later.
Community feedback within the ZeroG Discord echoes this: for Ender 5 and 5 Plus, most builders recommend tackling the bed and electronics first. The Ender 5 Plus has dual Z steppers, so you can upgrade to a cast bed with the existing motor mounts and gain most of the flatness benefit without a full Hydra rebuild. The cast bed kits often include mounting holes for both the stock carriage and the Hydra, so you can stage the upgrade.
The Hidden Costs and AC Wiring Caution
There is a tradeoff that surprises many builders: the bed upgrade can actually cost more than the Mercury One motion conversion. The cast plate, AC heater mat, solid state relay, and the wiring required add up quickly. By comparison, the Mercury One mechanical kit, while extensive, can sometimes be the cheaper half of the project.
The AC wiring is also a barrier. Mains voltage across a moving heated bed requires comfortable, safe wiring practices. If you have never wired an SSR or worked with AC power, this is not the place to learn by trial and error. Many builders are fine with it, but we have spoken to plenty who paused the project at this step because they were not confident. In those cases, we suggest either finding someone experienced to check your work or sticking with the stock DC bed and just improving the mounting and flatness.
Common Mistakes We See (and How to Avoid Them)
The most frequent error is chasing speed before solving flatness. A Mercury One gantry on a warped bed just produces faster failed prints. Get the bed flat first, then speed will follow. Also a thing to double check, its common reported issue that extrusion for X gantry can be warped from Creality, our suggestion is check extrusion flatness if you have old looking mesh after cast bed upgrade.
Another recurring issue in Australia's humid climate is rust. Some builders buy cheaper carbon steel linear rails to save money on the Mercury One conversion. On an open air printer like the Ender 5, those rails will rust quickly and require constant lubrication and maintenance. Spend the extra for stainless steel rails from the start, especially if your workshop is not climate controlled.
For the Mercury One specifically, the belt path is the trickiest part. The ZeroG assembly manual is functional, but it is not as hand-holding as a Voron build guide. Expect to open the CAD files frequently to check belt routing and tensioner alignment. Factor that into your build time, and do not assume you can breeze through it in an afternoon for experienced builder but would normally take over a couple day or 1-2 hours each night over a week to get everything up and running.
Building Mercury One: Time, Tools, and Realism
If you have already built a Voron, the Mercury One conversion will feel familiar. You will enjoy the process. But with all parts in hand, budget several weekends, not a single day. Sourcing parts, printing the required ABS components, and dialing in belt tension takes time. The conversion is also not as cost-effective as it once was. A new off-the-shelf CoreXY printer is often cheaper and faster to get running. This is a project for people who love the build itself, or who already own an Ender 5 and want to breathe new life into it.
Pairing Upgrades That Multiply the Value
If you are already tearing the machine apart, we highly recommend swapping the BL Touch for a Cartographer or Beacon probe. The Ender 5 Plus has a large bed, and the slow probing cycle of a BL Touch gets old fast. An eddy current or scanning probe will mesh the bed in seconds and give you far more data points, which matters when you are chasing perfect first layers.
For anyone starting from scratch, consider the Nebula frame instead of hunting down a secondhand Ender 5. The Nebula is designed from the ground up for the ZeroG motion system, with proper enclosure panels and no risk of twisted extrusions. A used Ender 5 frame can be hit or miss; a slight twist in an extrusion will haunt your first layer forever, no matter how flat your bed is.
The Honest Verdict: Is This Worth It?
If you have a fully working Ender 5 sitting on your bench and you enjoy the process of upgrading, do the bed first. Start with a cast plate, get your first layers perfect, then add Mercury One when funds and time allow. Treat it as a long-term project, not a weekend sprint.
If you have limited space or a limited budget, we would honestly suggest putting the money toward a different printer. A Voron, a Prusa, or even one of the newer fast CoreXY machines off the shelf will give you more reliability and capacity for the same total spend. The Ender 5 to ZeroG path is for tinkerers who love the machine itself, not just the parts it makes. For everyone else, add a different motion system to your farm instead and keep the Ender as a backup.
The ZeroG FAQ will tell you what fits or join the discord have look at other builder logs. We hope this helps you decide what order to fit it in.