Let’s skip the hype. You’re here because you’ve seen a cracked dashboard bezel, a missing cup holder, or a wobbly phone mount and wondered: “Can I just print a replacement?”
The answer is yes but with a very large asterisk. Over the years, my team and I have worked with countless customers and small business and industry partners who want to bring 3D printing into their vehicles. I’ve seen parts that worked brilliantly, and I’ve fielded complaints about parts that failed in days. If you’re going to put a 3D printed component into a car, you need to know where the landmines are buried.
Here’s how to start, what to avoid, and the exact work flow I’d hand a complete beginner tomorrow.
What You Can (Realistically) Replace Right Now
Almost all successful 3D printed car parts we see fall into one category: non-vital interior components. These are not structural, not safety-critical, and not sitting next to a hot engine block.
The most common requests from our customers and partners are refreshingly mundane but incredibly useful:
-
Cup holders and custom inserts because factory ones are often broken or poorly sized.
-
Custom gauge pods for aftermarket boost gauges or auxiliary displays, modelled to snap into unused dash spaces.
-
Dash mounts for IDMS (in-dash management systems) this is a big one. We had aided in some design mounts that accept popular locking mechanisms like UHF or Quad Lock which are used in diggers mostly to allow operators to mount pre-existing hardware without costly previously metal fabrication or off sourcing and expensive injection moulding. They blend a printed bracket with a proven, off-the-shelf locking system or standard mounting standard for their hardware.
-
Interior trim replacements think a cracked air vent surround, a blanking plate, or a small dash segment that costs a fortune from the dealer or has been discontinued due to age but isn’t load-bearing.
If the original part was plastic and its only job is to hold something in place (nothing vital that related to safety), you’re in the sweet spot. I would not, however, start printing engine/pump mount, suspension bushings or brake components. I’ll get to that in a moment.
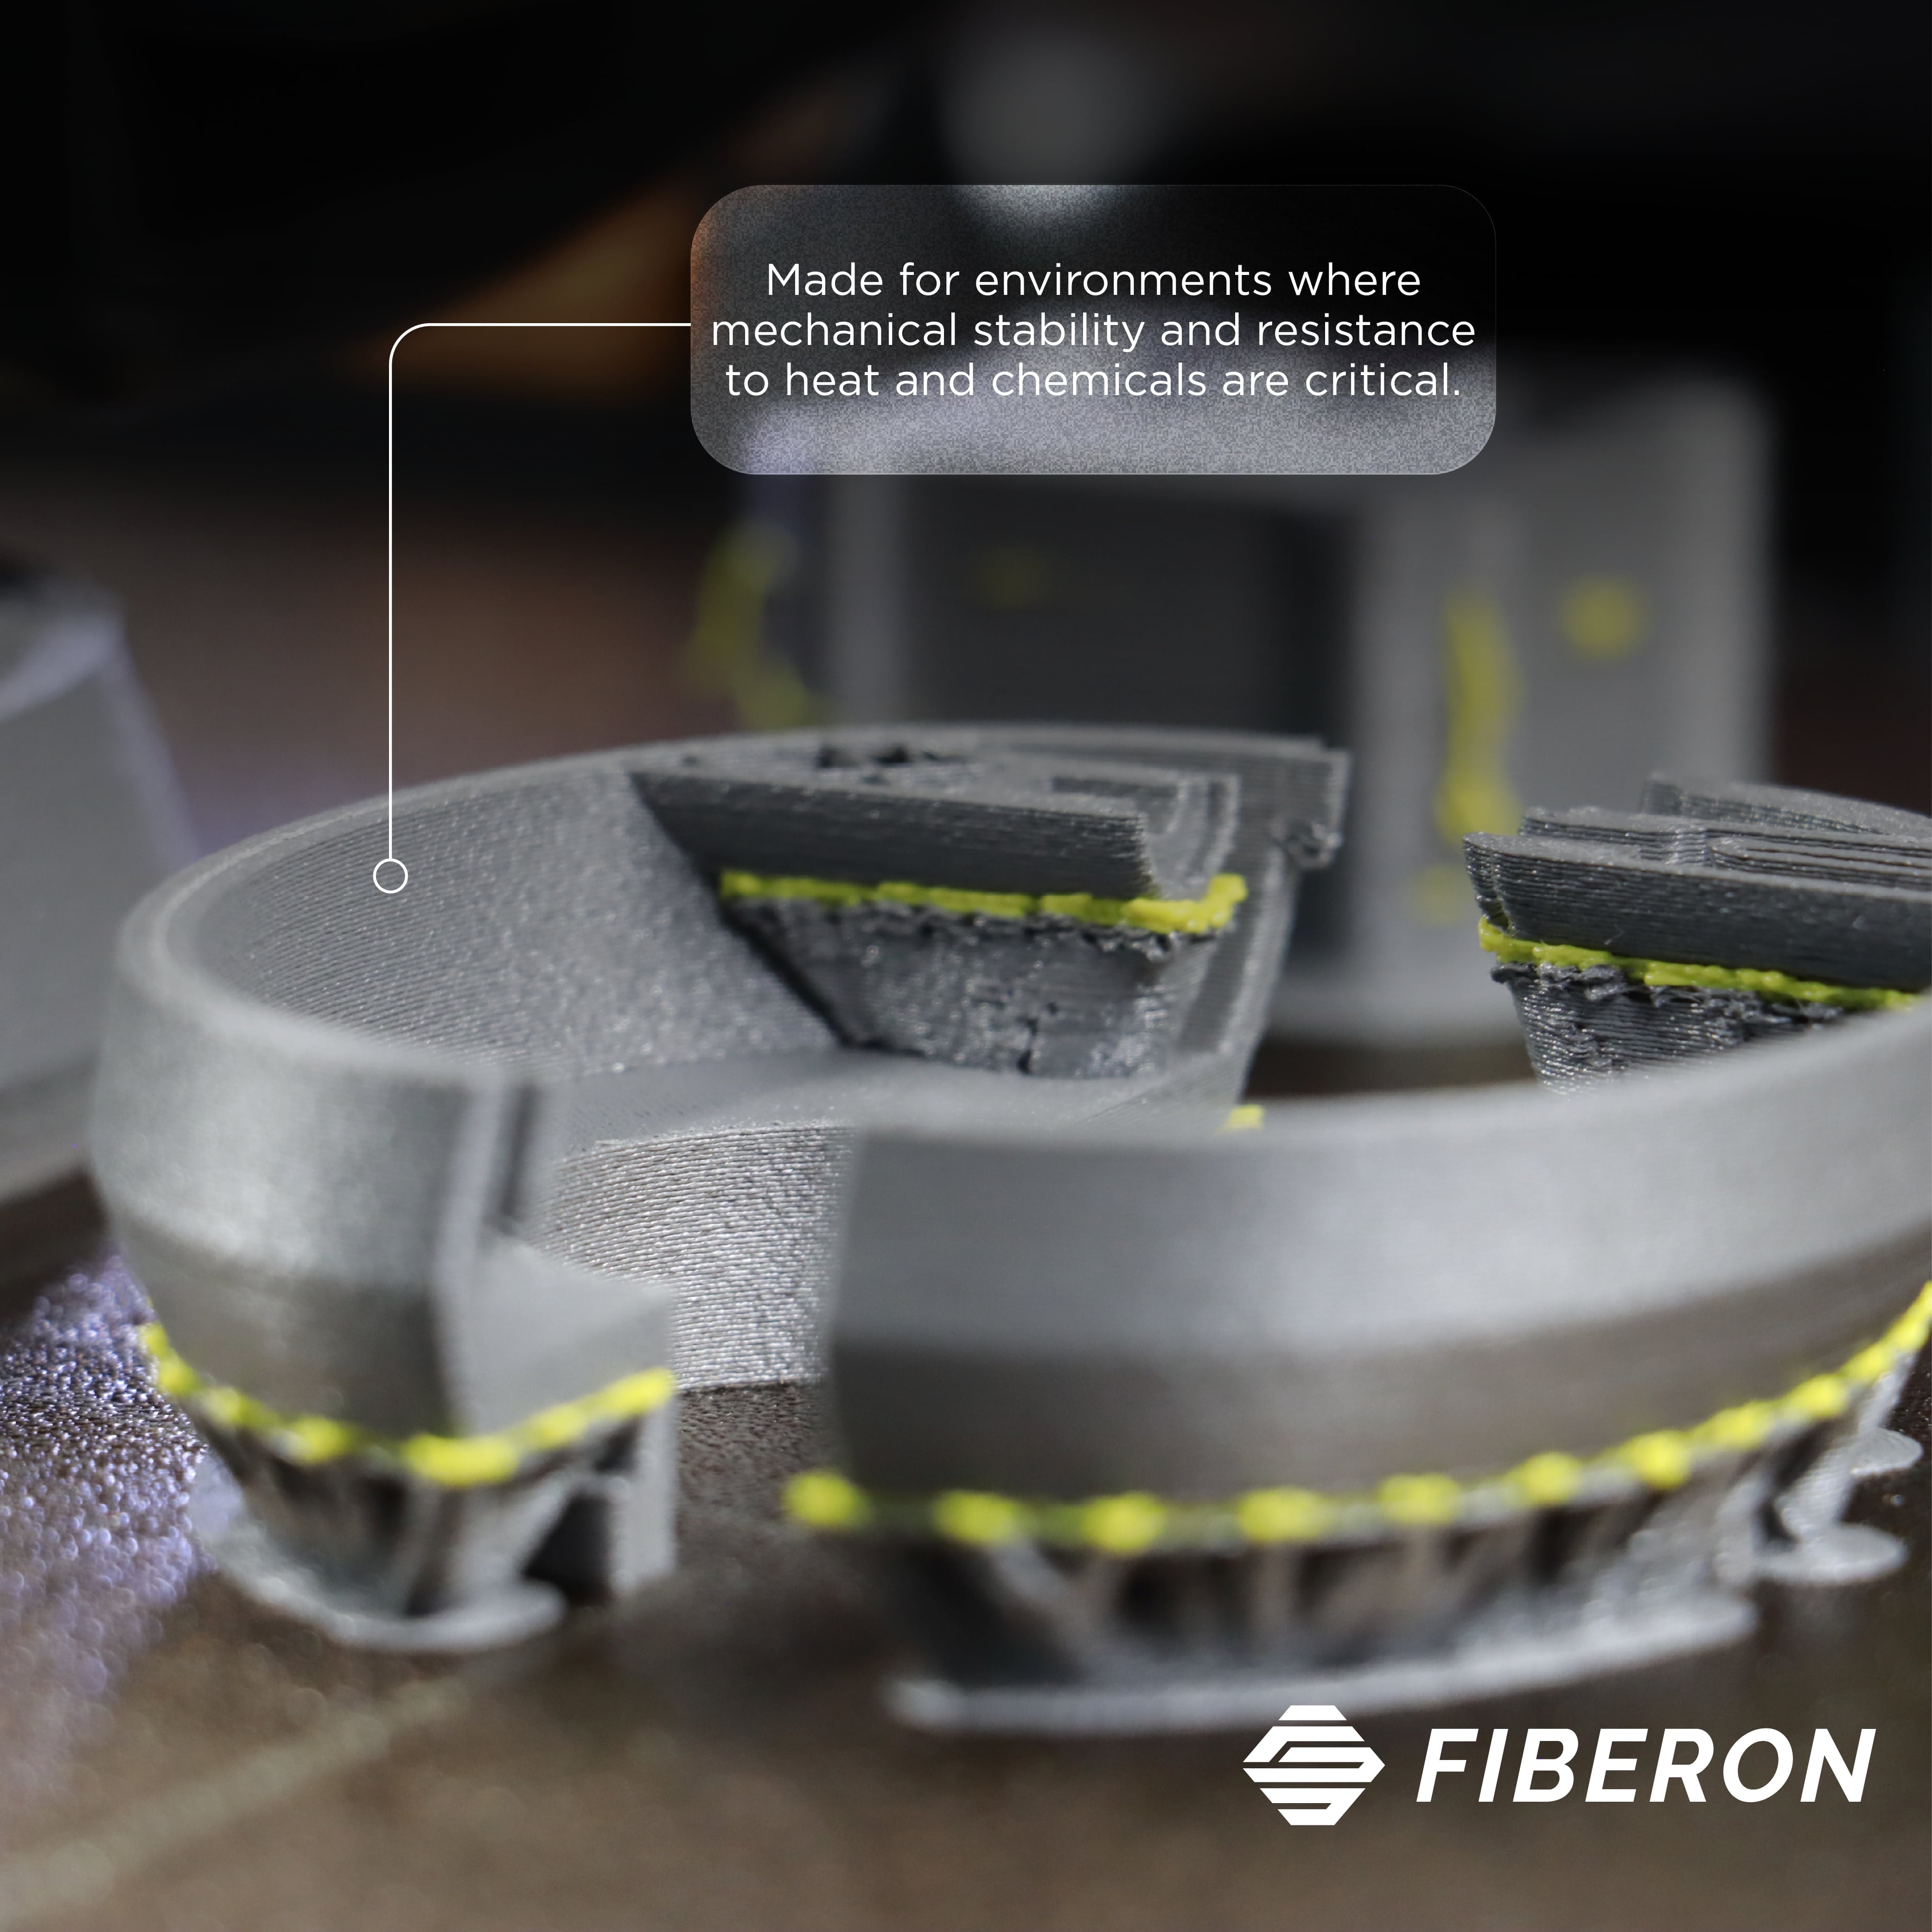
Material Is Everything (Especially Under the Australian Sun)
I cannot stress this enough: the plastic you choose will either make your part a hero or a melted mess. We operate in Australian conditions, where a closed car in summer can exceed 70°C (158°F) on the dash. Your filament must survive that without warping, drooping, or turning brittle under UV.
Here’s my hard rule: never use PLA or PETG/PCTG for car interiors.
PLA is a low-temperature material. It starts to soften well before 60°C. I’ve seen PLA phone holders become abstract sculptures in one afternoon. PETG is slightly better but still degrades and sags in a hot cabin, leading to endless customer complaints and a part that no longer fits. As PETG will creep under any load overtime. These materials are for prototyping, not production automotive use.
For anything that lives inside the vehicle, the bare minimum is ABS or ASA. ASA has the edge because it’s formulated for UV resistance it won’t turn chalky and brittle after two summers. For exterior mounts, like the ever-popular Starlink dish brackets or roof rack accessories, I strongly encourage stepping up to engineering materials like polycarbonate (PC) blends, though PC alone can be tricky in cold climates without good layer adhesion and an enclosed, heated chamber. Materials like PC ABS, PPS GF/CF, PBT GF or PET GF/CF is also suitable materials but these usually higher priced and more difficulty in printing or post processing requirements.
One practical tip: If you’re printing something like a dash mount that will live in direct sunlight, print a test square, spray it with a flat black coat, and leave it on your dash for a week in mid-summer. If it survives without deformation, your material choice is probably sound.
The “Do Not Print” List - Where the Danger Lives
My opinion on this is simple and deliberately blunt: you should not replace any vital component within the engine bay without rigorous internal testing and a deep understanding of that part’s load, temperature cycle, and failure mode. I mean components whose failure could cause you to lose steering, brakes, or control of the vehicle.
The line I draw is at parts where, if the print fails catastrophically, nobody is in danger. A perfect example is a water tank inlet replacement or a coolant overflow bracket on a classic car something non-pressurised, away from critical moving parts, and where a crack means a small leak you’ll notice, not a sudden loss of function. Even then, I’d only use heat-resistant nylon or PC-blend materials and test them extensively off the vehicle first.
If you have to ask “Is this safe?” about a part that connects to your steering column, brake pedal, or suspension please walk away. Prototype it, learn from it, but never run it on public roads.
The Hidden Legal and Insurance Traps
This is the part most blog posts skip, and it can bite you hard. Anytime you add a 3D printed modification that could be considered to affect vehicle safety, performance, or structural integrity, you are potentially giving your insurer a reason to deny a claim. Even a beautifully designed dash mount that becomes a projectile in a crash is a modification. Be upfront with your insurer if you’ve done something significant. A simple phone clip? Probably fine. A custom seat bracket? Not fine.
Trademarks are the other silent killer. Never, ever use a trademarked logo, brand name, or design on a 3D printed part you sell, market, or even photograph for social media without an official approval from the trademark holder. I’ve seen small businesses get cease-and-desist letters because they printed a “Ford” or “Holden” logo onto a custom cupholder and posted it online. You can make a functionally identical part; you cannot swipe their brand identity. Always strip logos from your scans and designs. If you intended to make custom part, we suggest you have some initial branding like logo/name and have those embed somewhere in part, even somewhere hidden to ensure your design is not easily stolen (if you wish upload files online), otherwise its always good to have some brand identity to stand out in the crowded market.
Your First Print: A Beginner’s Roadmap I’d Hand to a Friend
Forget organic, sculptural CAD. That’s for figurines. To make functional car parts, you need programmatic (parametric) CAD skills. You need to measure a mounting hole, punch in a diameter and a tolerance, and extrude a bracket. That’s it. The shape is secondary to the precision.
Here’s your first project: a simple, non-permanent interior accessory. My go-to recommendation is a custom cup holder divider, a dash cam mount wedge, or a gauge blanking plate. Something small, flat-sided, and purely mechanical.
My basic workflow:
-
Measure relentlessly. If you can, use a digital calliper and take reference photos with a ruler in the frame. But the real game-changer today is the falling cost of 3D scanners. Devices like the Revopoint or Einstar can now give you an accurate point cloud of a dashboard cavity for a few hundred dollars. It lets you “probe” virtually and design a mating part that feels like a factory snap-fit.
-
Design with tolerance baked in. A 10mm peg does not fit a 10mm hole. For ABS/ASA on my printers, I add 0.2–0.3mm of clearance to mating surfaces. Test-print just the interface section before committing to a 6-hour print.
-
Print hot, print slow. If your printer isn’t enclosed, stop and build an enclosure. You cannot print ABS/ASA reliably without one. Adhesion and layer bonding depend on a warm, draft-free environment.
-
Post-process for durability. A light acetone vapour smooth on ABS can seal micro-gaps, but be careful not to alter critical dimensions. More importantly, always test-fit on a cool, non-running car. I keep a set of trim removal tools handy, and you should too.
3D printing your own car parts is not a myth, it’s a craft. Start with the interior, respect the heat, and never compromise on safety or legality. The first time you click a custom-printed mount into a dash and it holds firm through a summer road trip, you’ll understand exactly why this is worth doing right.